The Honest Chicago Homeowner’s Guide to Security Camera Systems
Discover the best home security camera systems for Chicago's brick homes and cold winters. Learn the truth about Wi-Fi vs. wired cameras, ideal placement for detached garages, and how to build a reliable, subscription-free setup.
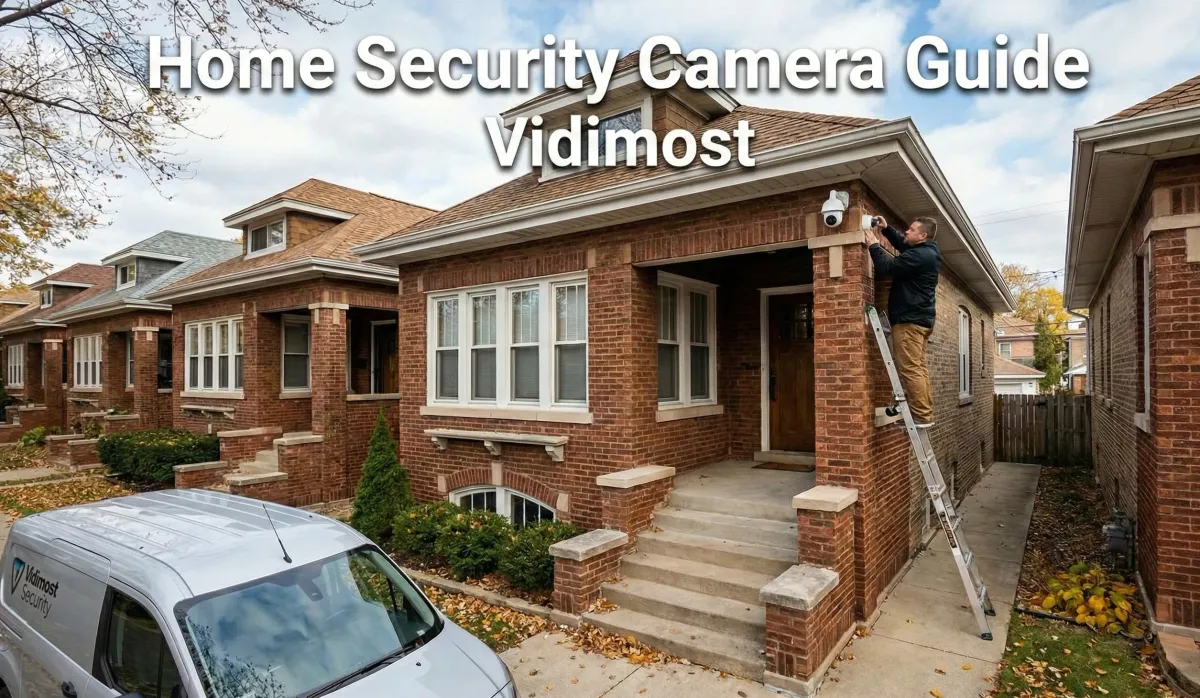
Professional installer mounting a security camera on a Chicago brick bungalow with Vidimost branding. Text overlay: Home Security Camera Guide - Vidimost.If you live in Chicago or the North Shore, you know our homes are built tough. We have solid brick bungalows, limestone greystones, and detached garages separated by concrete gangways. While these structures are great for surviving winter, they are absolute nightmares for Wi-Fi signals.
I’ve been installing security systems across Chicagoland for years, and I see the same story over and over: a homeowner buys a box of wireless battery cameras, sticks them up with double-sided tape, and six months later, they're calling me because the batteries are dead, the Wi-Fi doesn't reach the garage, and they missed the one incident they actually needed to see.
This guide isn't about selling you a specific brand. It’s about how to design a camera system that actually works in our specific environment—dealing with brick walls, sub-zero temps, and alley access.
Quick Answer: What is the Best Camera System for a Home?
For most Chicago homeowners, the ideal balance of performance and value is a PoE (Power over Ethernet) IP Camera System recording to a local NVR (Network Video Recorder).
unlike Wi-Fi cameras, PoE cameras use a single cable for both power and data, ensuring 100% stable video even through brick walls. They record 24/7 (not just motion clips), have no monthly fees, and offer superior night vision compared to battery-powered doorbell cameras.
The Great Divide: Wi-Fi vs. PoE (Wired)
Before you buy hardware, you have to choose your infrastructure.
1. Wi-Fi & Battery Cameras (Ring, Nest, Arlo)
These are "consumer IoT" devices. They are easy to install but high maintenance.
- Pros: No wires to run, user-friendly apps, cheap upfront.
- Cons: Rely on Wi-Fi (which struggles through brick/stucco), battery life plummets in winter, usually require monthly subscription fees for cloud storage.
- Best for: Renters, condos, or interior "nanny cams."
2. PoE IP Cameras (The Pro Standard)
This is what you see on commercial buildings, but it's now affordable for homes. You run one Ethernet cable (Cat5e or Cat6) from a central recorder to the camera.
- Pros: Rock-solid reliability (no buffering), 24/7 continuous recording, high resolution (4K+), zero monthly fees, capable of powering through long distances to detached garages.
- Cons: You have to run a wire. In a finished Chicago home, this requires skill (fishing walls, using conduit).
- Best for: Homeowners, multi-unit buildings, and anyone serious about security.
Pro Tip: If you have a detached garage, don't try to stretch your house Wi-Fi. We use a Point-to-Point Wireless Bridge(like a virtual cable through the air) to beam internet to the garage, then wire cameras there.
Hardware: What Actually Matters?
Don't get distracted by "100x Zoom" marketing. Here are the specs that matter for residential use.
Form Factor: Turret vs. Bullet vs. Dome
- Turret (Eyeball): The Winner. The lens is separate from the IR lights, meaning no glare, and there's no glass dome to collect water droplets or spiderwebs.
- Bullet: Good for long-range, but spiders love to build webs across the front, which ruins night vision.
- Dome: Avoid outdoors. The plastic dome reflects IR light back into the lens (IR bleed) and gets foggy over time. Only use these indoors or in vandalism-prone areas (if they are IK10 rated).
Resolution & Sensor Size
More megapixels isn't always better. A 4K camera with a tiny image sensor will look dark and grainy at night.
- Sweet Spot: 4MP or 5MP with a large sensor (1/2.7" or larger). This gives you sharp detail without sacrificing low-light performance.
Night Vision: IR vs. Color
- Standard IR (Black & White): Reliable. Uses invisible light.
- Color Night Vision: Uses a spotlight or very sensitive sensor to keep the image in color.
- Reality Check: Color night vision requires ambient light. If your alley is pitch black, "Color Night Vision" will look like a noisy mess. Standard IR is often clearer for identifying faces in total darkness.
Comparison: The Three Tiers of Home Security
| Feature | Consumer DIY (Ring/Nest) | Prosumer (Ubiquiti/Reolink) | Commercial/Pro (Axis/Hanwha) |
| Connection | Wi-Fi / Battery | PoE (Wired) | PoE (Wired) |
| Recording | Motion Clips Only | 24/7 Continuous | 24/7 Continuous |
| Storage | Cloud (Monthly Fee) | Local HDD (Free) | Local HDD / Server |
| Reliability | Medium (Wi-Fi dependent) | High | Critical/Fail-safe |
| Night Vision | Fair | Good | Excellent |
| Privacy | Data on corporate servers | Data stays in your home | Data stays on premise |
| Cost | Low Upfront / High Long-term | Medium | High |
Export to Sheets
The "Chicago Strategy": Where to Place Cameras
In our city, the "front door only" approach leaves you vulnerable. Here is a typical 4-camera plan for a standard Chicago lot:
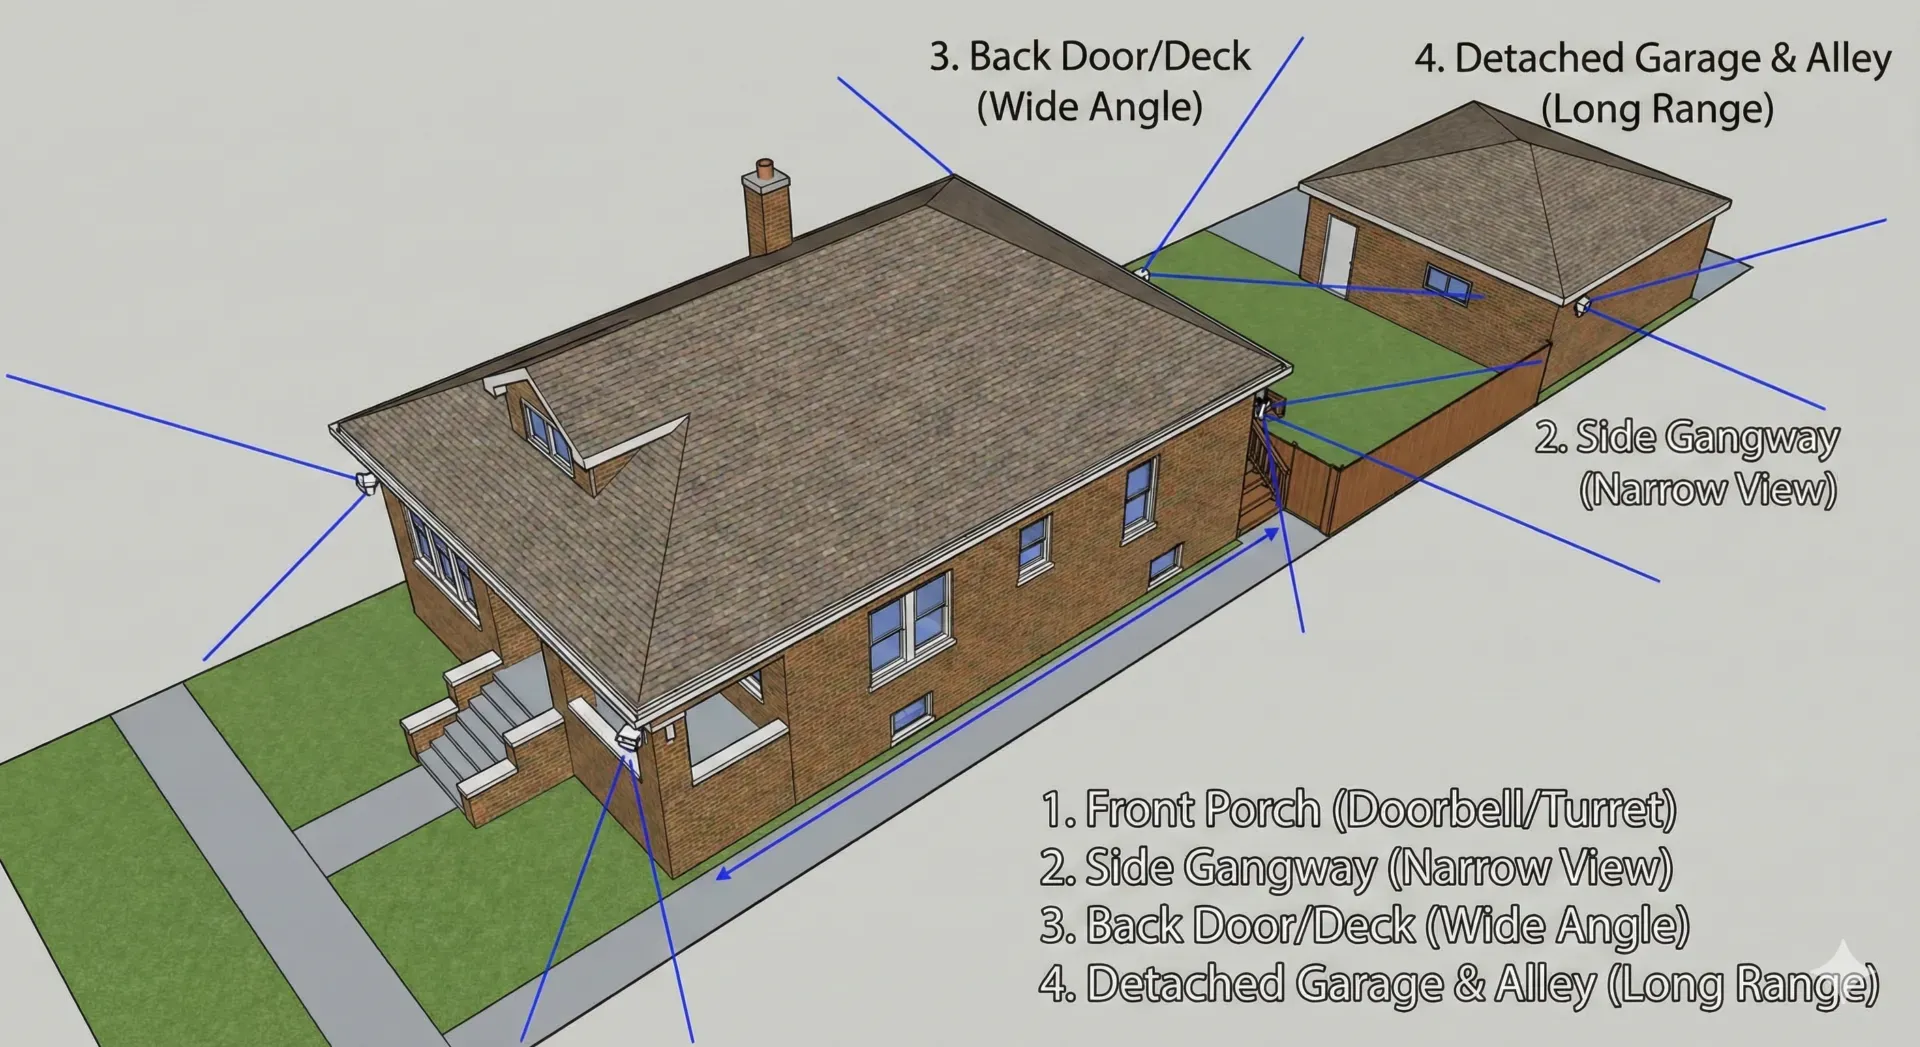
- Front Door / Porch:
- Goal: Monitor packages and visitors.
- Type: Video Doorbell or a discrete Turret mounted on the porch ceiling.
- Note: Ensure the camera isn't blinded by the porch light.
- The Gangway (Side Walkway):
- Goal: This is a common entry point for burglars.
- Type: Narrow view camera.
- Note: Mount high enough so it can't be reached, but low enough to see faces (8-9ft).
- Rear Door / Deck:
- Goal: Backyard security.
- Type: Wide-angle Turret.
- The Garage / Alley (Critical):
- Goal: Monitor the overhead door and the service door.
- Challenge: Distance from the house.
- Solution: Hardwire a camera to the garage. If you can't trench a cable, use a wireless bridge to link the garage to the house network.
Local Alert: Chicago alleys are busy. If you don't use "Smart Detection" (Person/Vehicle only), a standard motion camera will send you 500 alerts a night from passing cars and stray cats.
Pre-Purchase Checklist
Before you click buy or call an installer, answer these:
- [ ] Lighting: Walk around your house at night. Where is it pitch black? Install a motion light there before or withthe camera. Cameras need light to see.
- [ ] Cable Path: How do you get from your router/NVR to the outside? (Attic, basement, crawlspace?)
- [ ] Monitor: Do you want to view cameras on a dedicated TV/Monitor, or just your phone?
- [ ] Retention: How many days of video do you need? (Standard is 14-30 days. 4 cameras at 4K recording 24/7 usually needs a 4TB-8TB hard drive).
- [ ] Internet: What is your upload speed? You need decent upload speed (10Mbps+) to view high-quality streams remotely on your phone.
Step-by-Step Installation Overview
Whether you DIY or hire Vidimost, here is the proper workflow:
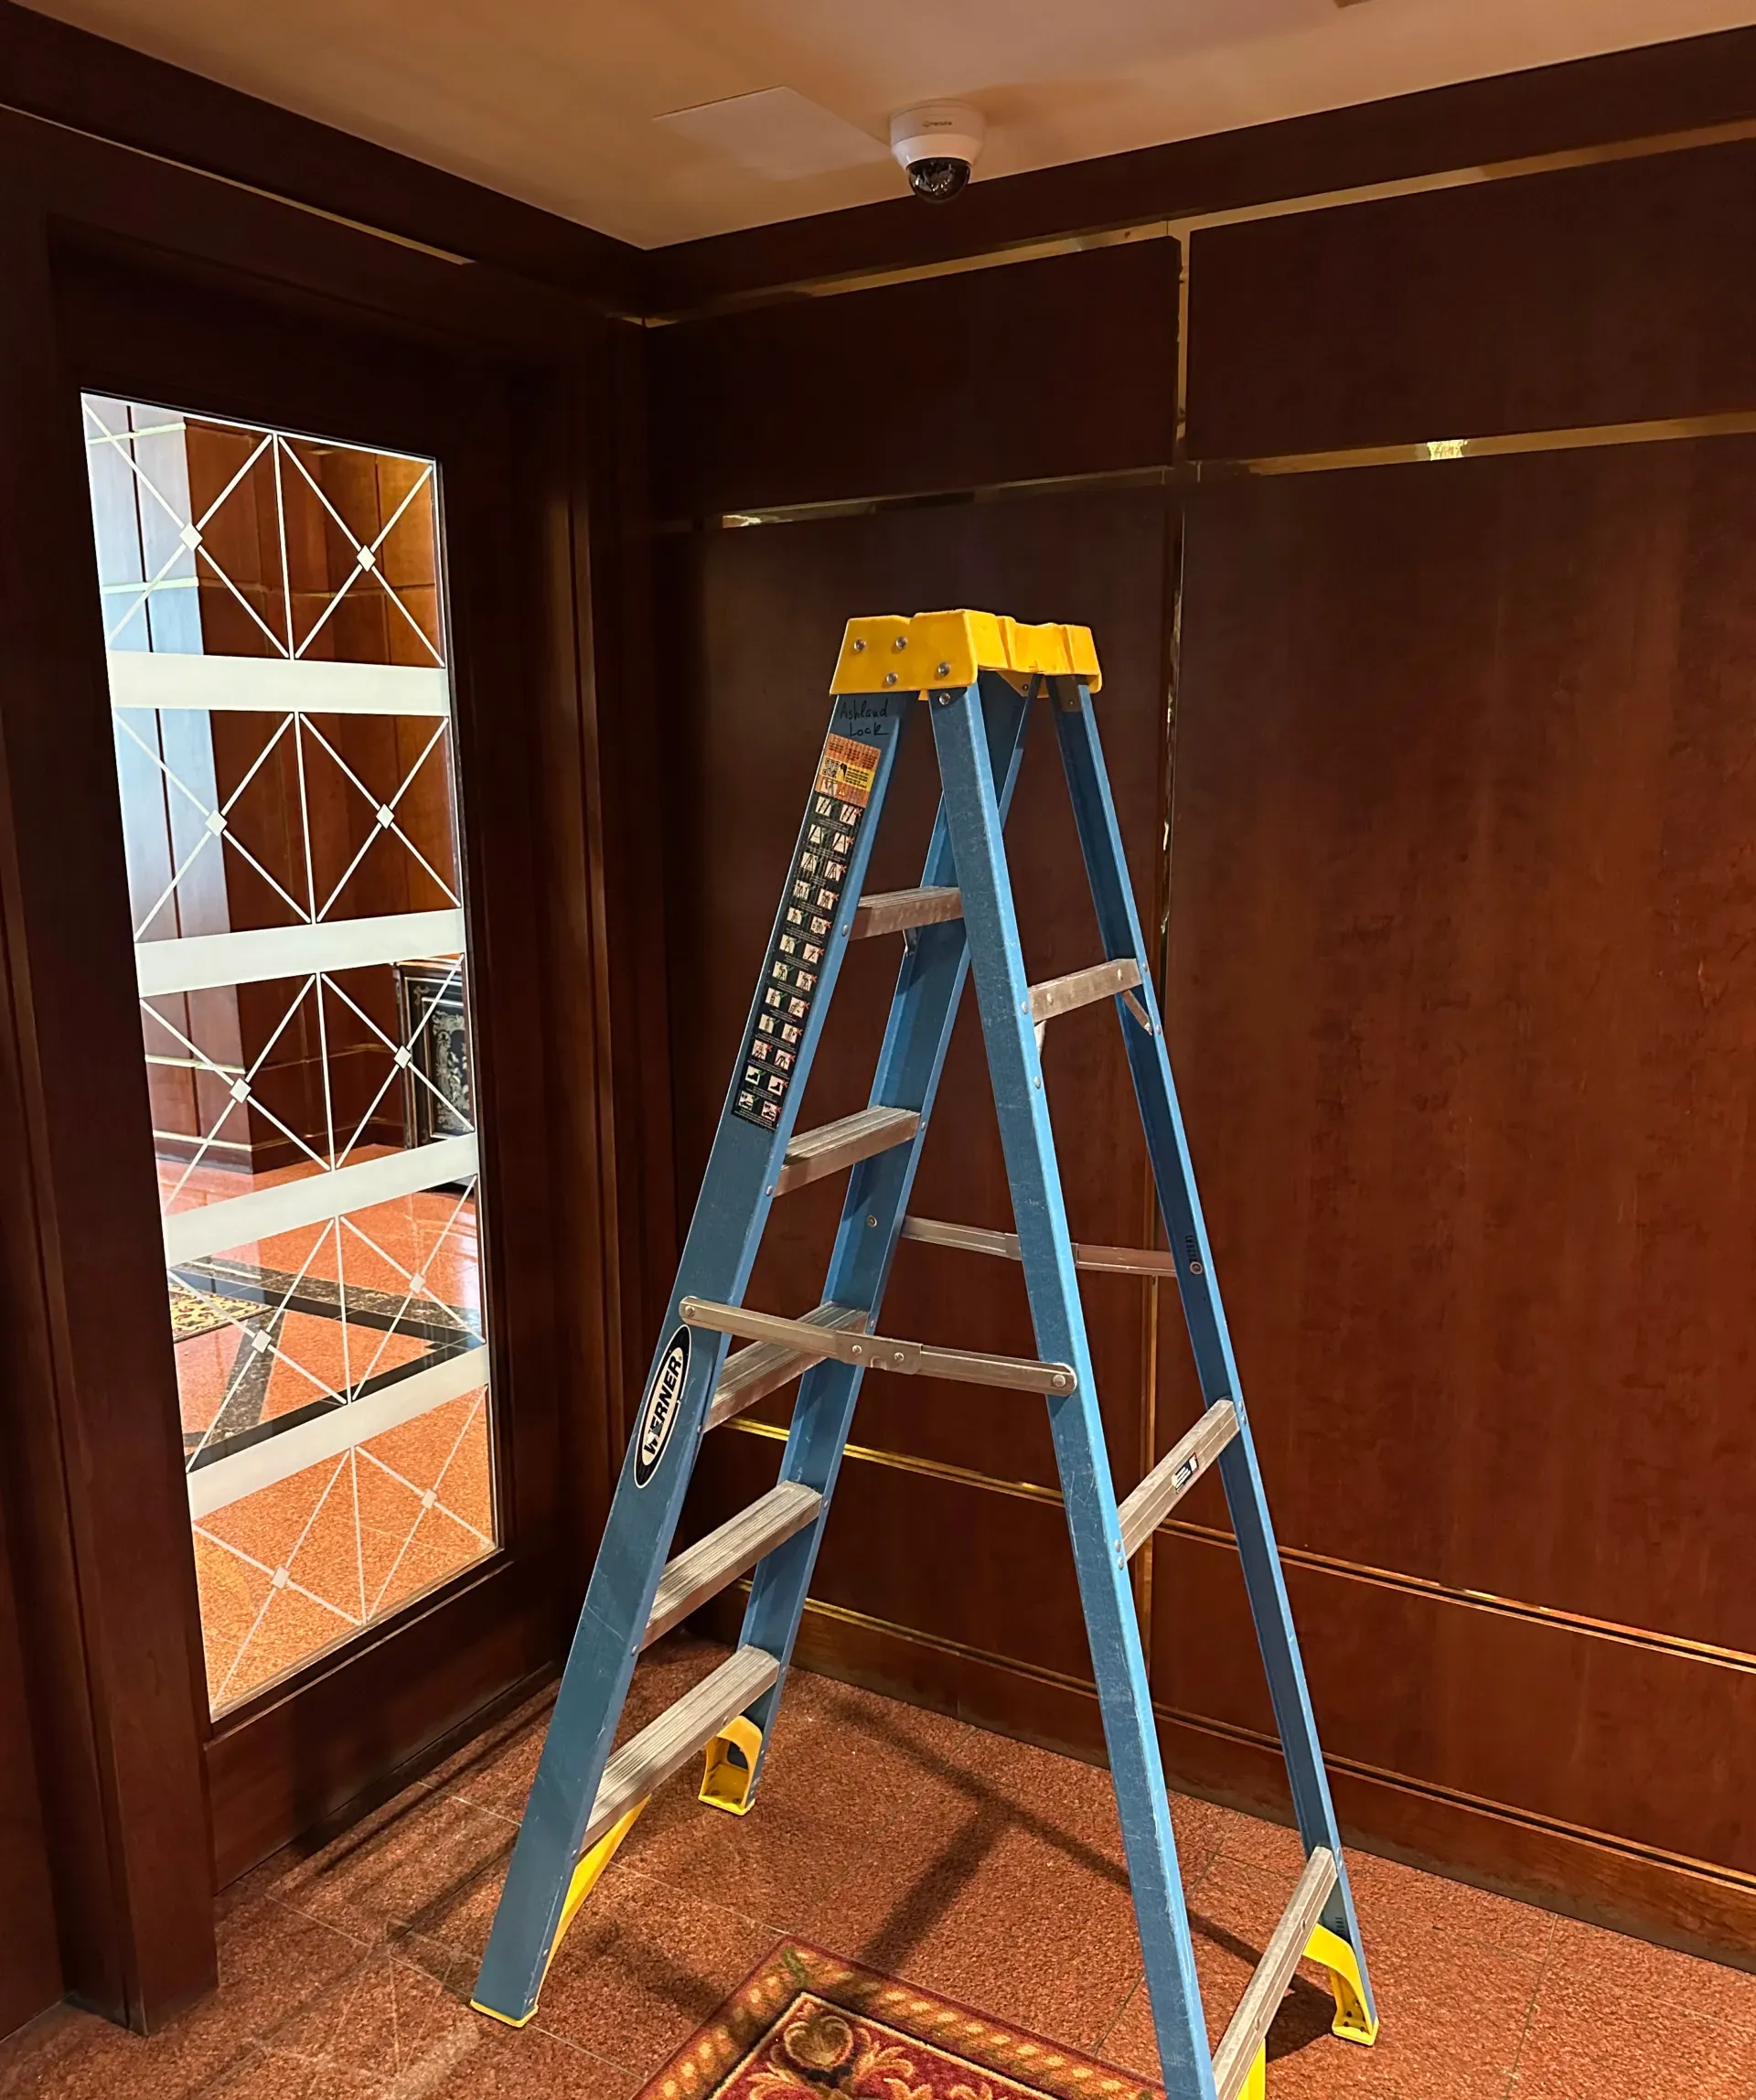
- The Bench Test: Plug everything in inside your house first. Make sure cameras connect, update firmware, and initialize the hard drive. Never install a camera on a ladder before testing it on the ground.
- The Rough-In: Run your Cat6 cabling. Avoid running parallel to electrical mains (interference). Use outdoor-rated cable if the wire touches the elements.
- Mounting:
- Brick: Use a hammer drill and masonry anchors. Use a "junction box" to hide the camera pigtail (connector) so it’s not exposed to rain/snow.
- Siding: Mount to a stud or use a siding block.
- Soffit: Careful not to mount too close to the wall, or the IR light will bounce off the wall and blind the camera.
- Termination: Crimp your RJ45 ends (or use punch-down keystones). Test the line.
- Aiming & Focusing: Have someone watch the screen while you adjust the angle.
- Rule of Thumb: Minimize the amount of sky in the shot. The sky is bright and ruins the exposure for the darker ground.
- Configuration: Set up "Motion Zones" to mask out your neighbor’s window or the public street (to reduce false alerts).
Common Mistakes (Field Notes)
1. Mounting Too High If you put a camera on the second-story eaves (20ft up), you will get a great view of the top of a burglar’s hoodie. To get facial identification, cameras should be 8–10 feet high.
2. The "Soffit Glare" Mounting a camera recessed too deep in a corner or soffit causes the infrared light to bounce off the nearby wall and blind the lens. This is called "IR Reflection." The image looks foggy at night.
3. Ignoring Cable Protection Leaving the RJ45 connector exposed to Chicago weather guarantees corrosion in 6 months. You must use a waterproof gland or a junction box. Tape is not enough.
4. Unrealistic Expectations No camera will read a license plate on a moving car at night unless it is a specialized LPR (License Plate Recognition) camera costing $600+ with perfect placement. Don't expect CSI-level enhancement on a $100 camera.
5. WiFi in a Brick House Assuming your Wi-Fi will reach through 3 layers of Chicago brick to the backyard. It won't. You need an Access Point closer to the wall or a wired camera.
Troubleshooting Matrix
| Symptom | Likely Cause | How to Test | Fix |
| Foggy image at night | IR Reflection / Dirty Lens | Turn off IR lights in app. If clear, it's reflection. | Clean lens; Move camera away from wall/corner; Switch to Turret style. |
| Camera drops offline | Bad Wi-Fi or Cable | Ping the camera IP. | If Wi-Fi: Add extender/AP. If Wired: Reterminate cable ends. |
| Ghosting / Smearing | Shutter speed too slow | Wave hand in front of camera. | Adjust shutter speed in settings (1/60 or faster), though image will get darker. |
| False Alerts | Spider web / bugs | Watch replay. | Clean camera; Turn off "Motion" and use "Person Detect" only. |
| No Video on Phone | Low Upload Speed | Run speedtest.net | Lower the "Sub-stream" bitrate in camera settings. |
| Condensation in lens | Seal failure | Visual inspection. | Replace camera (silica packets inside are saturated). |
FAQ: Chicago Home Security
Is it legal to record my neighbor's property?
generally, you can record what is visible from public or your property. However, you should avoid pointing cameras directly into a neighbor's window where they have a "reasonable expectation of privacy."
What about audio recording?
Illinois is a "two-party consent" state for private conversations, though the law has nuances regarding public spaces. To be safe, many pros recommend disabling audio recording unless you have signage or are strictly recording open public areas. Verify current Illinois statutes.
Do wired cameras work when the power goes out?
If your NVR is plugged into a UPS (Uninterruptible Power Supply/Battery Backup), yes! This is a huge advantage over Wi-Fi cameras that die when the router loses power.
Which brand do you recommend?
For Pro DIYers, Ubiquiti UniFi Protect is fantastic. For commercial-grade reliability at home, Axis or Hanwha Vision. For budget wired systems, Reolink offers decent value, though with some security/privacy tradeoffs compared to NDAA-compliantt brands.
- "PoE vs Wi-Fi cameras: Deep Dive"
- "Chicago security camera installation services"
- "Network & Wi-Fi audit for brick homes"
- "Privacy-first recording: Why Local Storage Matters"
Security isn't just about buying a gadget; it's about the right plan for your specific home.
If you’re in the Chicago area and want a system that survives the winter, captures clear footage, and respects your privacy:
We’ll audit your current coverage, check your network, and design a plan that fits your home—no monthly fees, no guesswork.

Comments ()